Get accurate 3d prints & fix under-extrusion. Seeing gaps in 3d prints? Learn to calibrate extruder with our e-step calibration guide.
What is E-Step Calibration and Why Is It Vital?
The quality of your 3D prints hinges on one core principle: extruding the right amount of filament at the right time and in the right place.
If your prints have gaps, weak layers (under-extrusion), or ugly blobs and zits (over-extrusion), your first instinct might be to tweak the “Flow” setting in your slicer. But in most cases, the problem is more fundamental: your printer’s E-Steps are not calibrated.
E-Steps (Extruder Steps per Millimeter) is a critical firmware setting that tells your printer’s extruder motor exactly how many tiny “steps” it needs to turn to push exactly 1mm of filament.
Simply put:
- The Command: Your slicer says, “Extrude 50mm of filament.”
- The Reality: Your motor turns, but it actually only pushes 45mm of filament.
- The Result: Your entire print is built with 10% less material than it needs. This leads to weak parts, gaps in infill, and all the classic symptoms of under-extrusion.
This guide will walk you through, step-by-step, how to perfect this core mechanical setting and eliminate a huge range of printing problems before they even start.
E-Steps vs. Flow Rate: The Critical Difference
This is the most common point of confusion for new 3D printer users.
- E-Step Calibration (This Guide): This is a mechanical calibration. It ensures your hardware (your extruder motor) is physically accurate. You set this once and forget about it (unless you change your extruder hardware).
- Flow Rate (or “Extrusion Multiplier”): This is a software compensation. It’s a fine-tuning setting in your slicer (like Cura or PrusaSlicer) to compensate for variations in specific filaments (e.g., one brand of PLA might be 1.73mm wide, another 1.76mm).
Rule #1: Always calibrate your E-Steps first. Trying to fix bad E-Steps by changing your Flow Rate is like trying to fix a crooked foundation by painting the house.
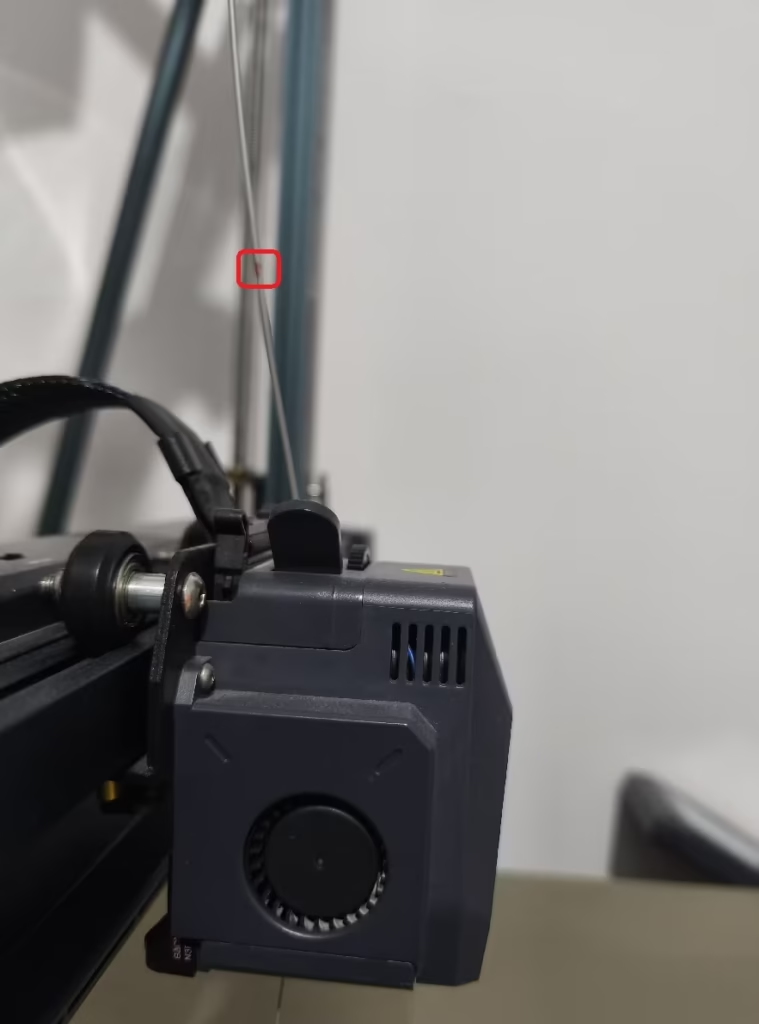
Tools You Will Need
This process will take about 15 minutes. You will need:
- Filament (any type, PLA is fine)
- Digital Calipers (highly recommended) or a very precise ruler
- A fine-tip marker
- A way to send G-code commands to your printer:
- Recommended: A PC with a USB cable, using a terminal like Pronterface,Fluidd or the OctoPrint terminal.
- Alternative: An SD card (you will have to create
.gcodefiles for each command).
Step-by-Step E-Step Calibration
Step 1: Heat Your Nozzle and Connect
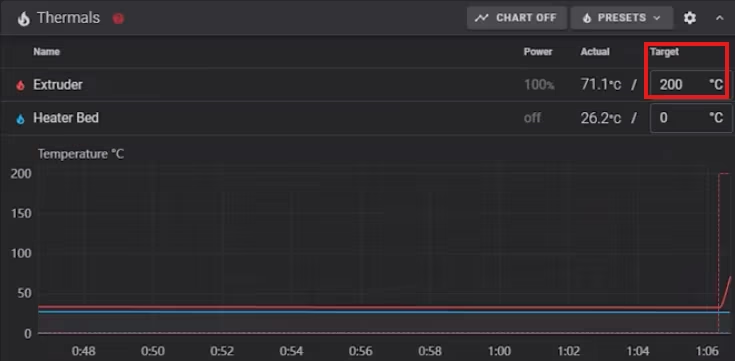
We need the hotend at a normal printing temperature so the filament can move freely.
If you are connected via Pronterface,Fluidd or OctoPrint, set your nozzle temperature. (e.g., 200°C for PLA).
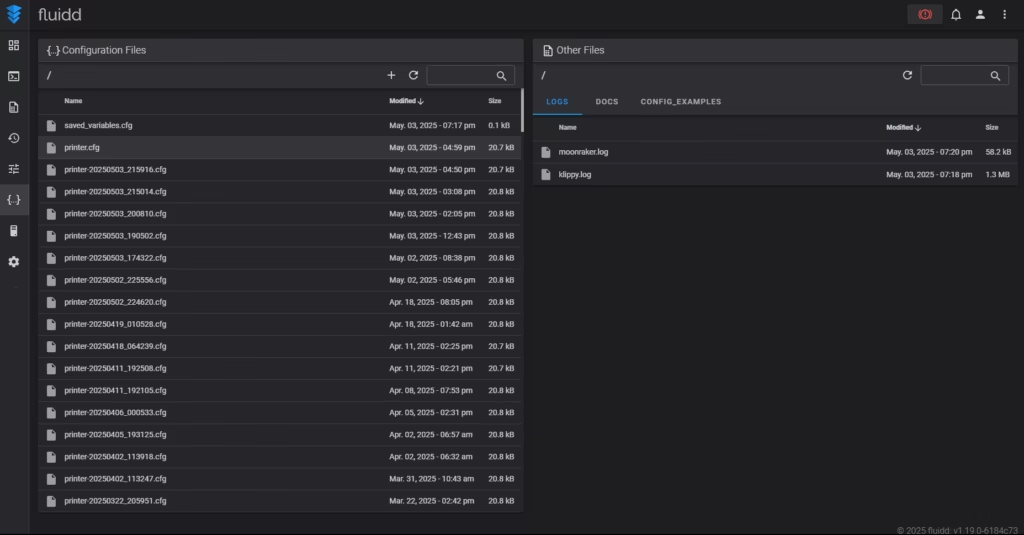
Step 2: Get Your Current E-Step Value
Before we calculate a new value, we need to know the old one. In the config file (for fluidd) find:Rotation Distance

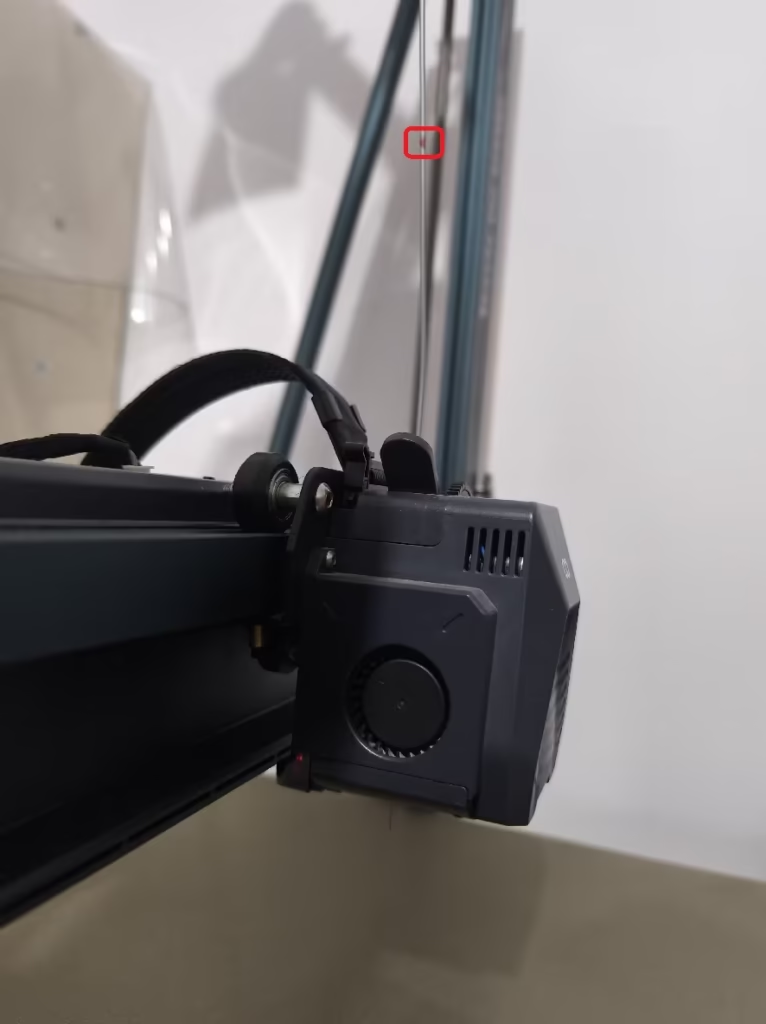
Step 3: Mark Your Filament
Manually feed filament into your extruder. From the exact point where the filament enters the extruder, use your calipers to measure 70mm up the filament. Make a clear, sharp mark with your marker.
Pro-Tip: Why 70mm, not 50mm? We are about to command a 70mm extrusion. If your printer over-extrudes (e.g., pushes 53mm), your 50mm mark would disappear into the extruder, making it impossible to measure. By marking at 70mm, we have a 20mm buffer that makes measuring both under and over-extrusion easy.
Step 4: Command a 50mm Extrusion
Now, we will tell the printer to extrude exactly 50mm of filament. We do this slowly to ensure accuracy.
Send these two commands, one after the other:
G92 ; commant to enable relative extrusion
G1 E50 F60 ; command to extrude 50 mm slowly
Wait for the extruder to finish moving.
Step 5: Measure and Calculate
Now, measure the distance from the same extruder entry point to the mark you made on the filament.
- Scenario A (Under-extrusion): You measure 22mm remaining.
- This means your printer only pushed: 70mm – 30mm = 40mm.
- Scenario B (Over-extrusion): You measure 18mm remaining.
- This means your printer pushed: 70mm – 15mm = 55mm.
Now, we use a simple formula to find the correct new E-Step value:
New E-Step = (Current E-Step * 100) / Actual Amount Extruded
Let’s use our Scenario A (98mm extruded) example:
New E-Step = (43.00 * 100) / 48 New E-Step = 89.58
Step 6: Set and SAVE Your New Value
We found our new, accurate value: 89.58 Now we must change old Rotation Distance and permanently save it to its memory (EEPROM).

CRITICAL: If you forget to save, your printer will forget this new setting as soon as you power it off. The save makes it permanent.
Step 7: (Important) Verify Your Work
Good science requires verification. Let’s confirm our new setting is correct.
- Go back to Step 3 and make a new mark at 70mm.
- Go back to Step 4 and send the
G1 E50 F60command again (no need for G92 this time, it’s still in relative mode). - Go back to Step 5 and measure.
This time, the remaining distance should be exactly 20mm (or extremely close, like 20.1mm or 19.9mm). If it is, congratulations!
Conclusion: Your Foundation is Now Solid
Your E-Steps are now perfectly calibrated.
You can be confident that when your slicer asks for 50mm of filament, your printer is delivering exactly 50mm. You have just eliminated one of the single biggest and most frustrating variables in 3D printing.
If you still see minor extrusion issues, you can now confidently move on to fine-tuning your Flow Rate (Extrusion Multiplier) in your slicer, knowing your hardware baseline is correct.
If you’re still facing issues, browse our Common Problems Troubleshooting section to diagnose your next symptom.